 Foshan AMJ Windows and Doors Co., Ltd.
 A good casement window installation starts before the frame is fastened. Confirm the opening, wall condition, sill level and installation method first. Then set the aluminum frame square and plumb, shim at the right points, integrate the perimeter with the wall’s water-management system, and test the sash before the interior finish hides the frame.
For project work, casement windows installation is less about one universal screw pattern and more about following the approved shop drawings and the installation detail for the actual wall assembly. Wood framing, concrete, masonry and existing openings do not use the same attachment and flashing approach.
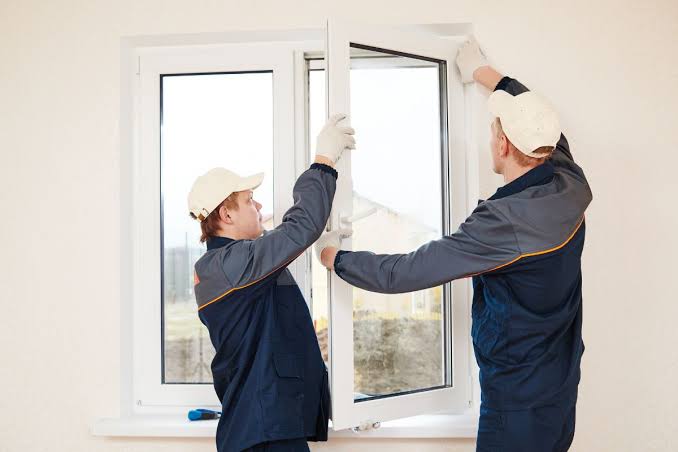
Before Installation: Check the Opening
- Match the opening mark to the approved window schedule.
- Confirm that the rough opening matches the approved frame size and installation allowance.
- Check sill level, jamb plumb and both diagonals.
- Remove debris, projections and anything that prevents the frame from sitting correctly.
- Confirm the wall membrane, flashing and drainage sequence before the window goes in.
- Check the sash handing so the window is not installed in the wrong orientation.
A Practical Casement Window Installation Sequence
Place the frame in the opening and confirm the perimeter clearance before fastening. This is the time to catch a wrong size or wrong handing.
The bottom of the frame needs stable support. Do not force a window frame to follow an uneven sill; correct or shim the support according to the project installation detail.
Check the jambs and diagonals before final tightening. A twisted casement window frame can cause uneven gaps, difficult locking and sash contact.
Attachment points and fasteners should follow the approved installation method. Recheck dimensions as the frame is secured.
The window must be tied into the surrounding wall system. Keep drainage paths open and use the sealant and flashing sequence specified for the project.
Open, close and lock the window several times. Check that the sash clears the frame, the handle works smoothly and the reveal is even.
Common Problems After a Casement Window Is Installed
Sash rubs the frame: first check whether the frame is square and whether the opening moved during fastening. Hardware adjustment should not be used to hide a badly set frame.
Window is hard to lock: look for frame twist, uneven shimming or sash alignment before changing hardware.
Water appears around the opening: the source may be the wall-to-window interface rather than the window itself. Review flashing, sealant joints, drainage and surrounding cladding.
Interior finish blocks operation: deep trim, blinds or finishes can interfere with handles and inward clearances. Coordinate these items before closeout.
Final Builder Checklist
- Frame is level, plumb and square
- Perimeter gaps are consistent
- Fasteners have not distorted the frame
- Flashing and sealant follow the wall detail
- Drainage openings remain clear
- Sash opens, closes and locks smoothly
- Glass and frame are clean and undamaged
- Protective film and labels are handled according to handover requirements
FAQ
How much does it cost to install a casement window?Labor varies by opening condition, wall type, access, window size and local market. A project quote should separate product supply from installation scope.
Do casement windows swing in or out?They can be designed for inward or outward operation. Confirm the exact opening direction on the window schedule.
Can you replace a casement window with another window type?Often yes, but the opening, waterproofing detail, ventilation requirement and code conditions should be reviewed before changing the type.
What causes most installation problems?Common causes include an opening that is out of square, uneven support, frame distortion during fastening and poor coordination of flashing or sealant.
Send the wall section, rough opening sizes and window schedule before production. AMJ can review the frame size and installation interface with your project team.